Most knife guys bleed in the kitchen, not the field. After a long day, cooking feels easy—until your brain powers down and the blade bites back. The pros know better. Street vendors, chefs, and camp cooks worldwide rely on three simple chopping techniques to keep their fingers intact. Learn these kitchen knife skills, practice them, drill them, and make them second nature!
Kitchen Knife Skills for Beginners
Several years ago, an editor assigned me an article about kitchen knives. I was far more familiar with outdoor knives than kitchen knives, so this assignment taught me how to use them effectively. It marked the start of a journey that opened many opportunities and broadened my perspective on safety with sharp tools.
Advertisement — Continue Reading Below
I started my research on “The Tube,” and took in as much info as I could. Mimicking, googling, and watching others in the kitchen or restaurants was part of the process. One thing I admired watching the pros: every chef still had all their digits. That wasn’t luck. It was training. The first move they all drilled was the pinch grip.
Pinch It
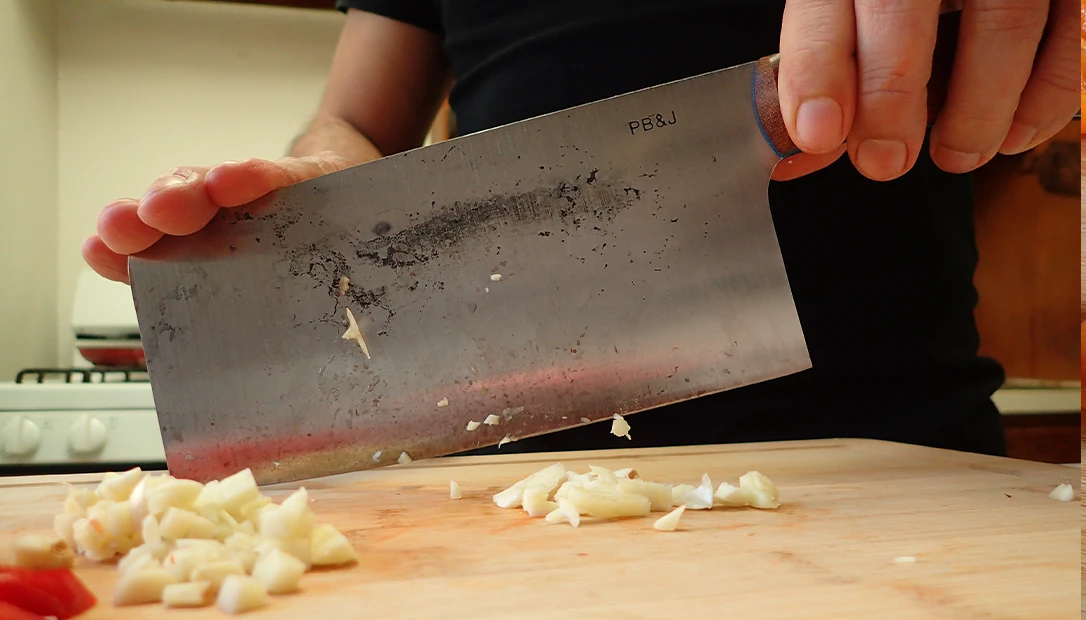
This method isn’t the machete pinch you know from clearing brush. The chef’s pinch is different. The thumb and index finger pinch the blade at the point where it meets the handle. The rest of your hand wraps the grip, relaxed but firm—palm down. This setup gives balance, control, and precision. It’s the first thing taught in culinary school because it works. It feels natural, almost instinctive, and it puts your hand in the best position for clean slicing and safe chopping.
But chefs don’t live by the pinch alone. The grip is paired with the claw. That’s the shape your off-hand takes—fingers curled, nails tucked, knuckles forward. The claw turns your hand into a fence. The blade rides against bone, not flesh. It keeps food steady and digits safe. Together, pinch and claw are the foundation. Without them, Tap, Cross, and Rock don’t matter. With them, you cut clean, fast, and without blood.
Advertisement — Continue Reading Below
Step 1: Grip and Guard
Before you chop, master two steps: how you hold the knife and how you protect your off-hand. Proper grip and guard set the foundation for every technique that follows, making your cuts safer and more precise.
Chef’s Grip
Pinch the blade where it meets the handle—thumb on one side, index finger on the other. Wrap the rest of your fingers around the handle, relaxed but firm. This pinch grip gives leverage, balance, and precision. It keeps the blade steady and lets you steer cuts with fingertip accuracy. Pros use it because it turns the knife into an extension of the hand rather than a clumsy tool. Practice until it feels natural. Once locked in, you’ll notice less fatigue and more control, even after long prep sessions.
Claw Hand
Your off-hand is the shield. Curl your fingers inward, nails tucked, knuckles forward. The claw creates a wall for the blade to ride against, guiding the knife with your knuckles and keeping the food steady. Always use the claw to protect your fingertips; it saves digits despite initial awkwardness.
Advertisement — Continue Reading Below
Tap Chop
Think of the tap as controlled percussion. Anchor the tip of the knife on the board, then lift and drop the handle in a steady rhythm. The blade edge does the work, not brute force. This method keeps the cut shallow and precise, perfect for garlic, herbs, chilies, or anything that needs a fine mince. The key is consistency—your knife barely leaves the board, so there’s no wild swing to catch a fingertip. Street vendors use this move for speed, hammering out piles of garnish without a single nick. Practice slow, then build tempo. Once you lock into the rhythm, you’ll chop faster than you thought possible, with zero risk of slipping steel.
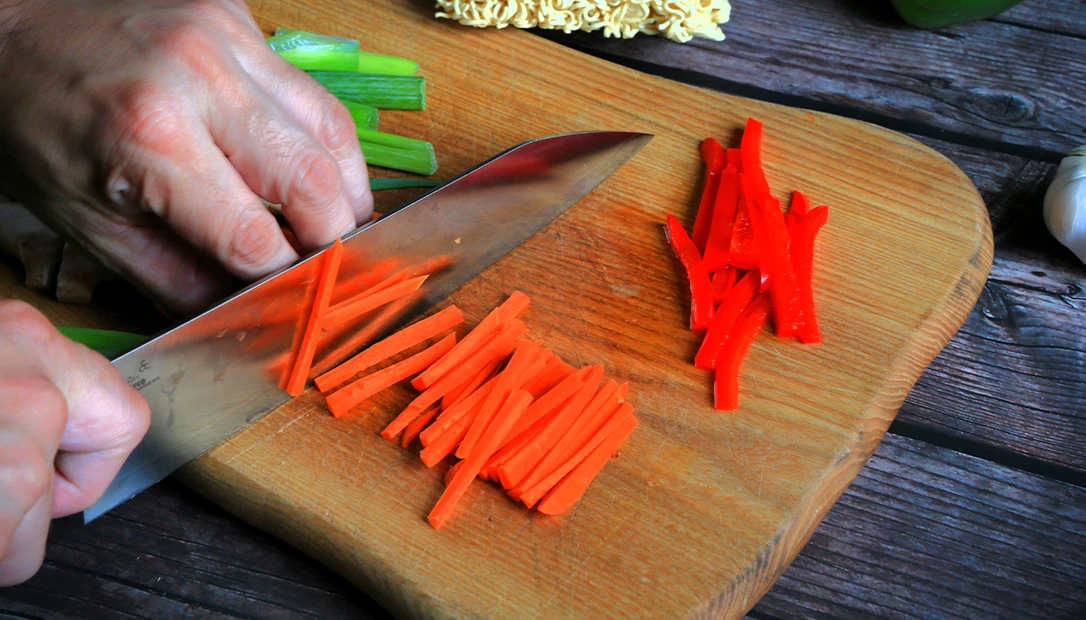
Cross Chop
The cross chop is simple, safe, and versatile. Place two fingers of your non‑cutting hand lightly on the front of the knife spine. This gentle pressure guides the blade, keeping it steady as your dominant hand raises and lowers the handle to slice and chop. The knife pivots under control, never swinging free.
Advertisement — Continue Reading Below
This method shines for herbs, garlic, and small piles of vegetables. The guiding fingers act as stabilizers, letting your dominant hand lift and drop while the guiding hand keeps the blade balanced. Done right, the motion is smooth and fast for real kitchen work.
Chefs use this technique because it combines speed with safety. The guide fingers prevent the blade from wandering, and the rhythm keeps cuts uniform. Practice slow, then build tempo. Once you lock into the motion, you’ll chop cleanly and confidently, with far less risk of catching a fingertip.
Pro Tip: Keep pressure light. The guiding fingers should never press hard on the blade—just enough to steer, never enough to strain.
Advertisement — Continue Reading Below
Rock Chop
The rock is the workhorse, the motion you’ll use most. Plant the tip of the knife on the board and roll the edge forward and back in a smooth arc. It’s a seesaw motion, steady and controlled: onions, cabbage, herbs—anything bulky bows to the rock. The trick is to keep the tip anchored, never lifting it off the board. That anchor point turns the blade into a lever, giving you power without risk. Your off-hand corrals the pile, knuckles guiding the edge as it rolls. Done right, the rock feels effortless, like the blade is gliding through the food. Vendors use it for mountains of greens, chefs for endless mirepoix, and survival cooks for camp stew. It’s efficient, safe, and built for volume.
Quick First Aid Tip
Most kitchen knife cuts happen on the fingertips or along the side of the index finger. This area is the exact spot exposed when you forget the claw. If you do get nicked, don’t panic. Apply direct pressure with a clean cloth or paper towel. Hold firm until bleeding slows. Don’t look. Keep the pressure consistent. This simple move works wonders for quick aid and buys you time to clean and cover the wound properly. A well‑known wartime medic, first responder, and friend, Hugh Coffee, taught that ten minutes of direct pressure will stop most superficial cuts. The only exception is an arterial bleed, which requires more advanced intervention.
Drill it In
In any cooking setting, focus on these key steps: grip, claw, tap, cross, and rock. Each move builds muscle memory. Without mastering each, your technique is at risk when fatigue or distraction sets in.
Advertisement — Continue Reading Below
Think survival beyond the field. Fire, shelter, steel matter—but so does dinner. A cut finger in the wild can mean infection, lost dexterity, or worse. Even at home, one slip can sideline you for weeks. The blade doesn’t care if you’re tired, hungry, or rushing; only your discipline matters.
Top 3 Kitchen Mistakes That Cost Fingers
Rushing the cut: Speed without rhythm leads to slips. Slow down, build tempo, then push for speed once the motion is automatic.
Using a dull blade: A blunt edge forces pressure; pressure forces slips. Keep your knife sharp—sharp steel is safer steel.
Flat fingers on the board: Never press food with an open hand. Curl into the claw, knuckles forward, and let bone—not flesh—guide the blade.
Stay Sharp
So slow down. Set your stance. Lock the pinch. Curl the claw. Then move with intent. Every chop and slice is a chance to prove control. Every meal is a chance to perfect your kitchen knife skills. The pros know this, and that’s why they still have all their digits.
Oh, and one more thing! Before using your knife, always start with a sturdy cutting board. A good cutting board provides a stable, safe surface for all your chopping, slicing, and dicing tasks. It protects your knives from dulling and your countertops from damage, and it helps prevent accidents by keeping food steady while you work.
Stay sharp. Because survival isn’t just about making it through the fight—it’s about making it through the feast without a trip to the ER!