Who in the world doesn’t like bacon? However, few have had it rock-fried. Believe me, I enjoy a good carbon-steel or better yet, cast-iron skillet. Both have disadvantages, such as weight and bulk. Traveling on foot while carrying extra layers of clothing, food, and water can weigh you down. Don’t forget trudging through the snow.
I prefer to let Mother Nature supply as much cookware as possible. A flat rock, or one that’s close to flat, will work for me just fine, especially when cooking bacon!
The Dish: Bacon on the Rocks!
I’ve been cooking this dish for nearly a decade. It requires a bit of my gear and some from nature. However, the ingredients and cooking method are quite simple.
Advertisement — Continue Reading Below
The omelet contains one egg, but two will work as well. I scramble it up beforehand and keep it in a small plastic water bottle. I add tomatoes, mushrooms, garlic, green onions, cheese, and seasoning as my base. Sometimes I add peppers, spinach, or whatever I have that I want to use up before it goes bad.
The pot is stainless steel and has a folding handle. Stainless steel is lighter than most pots of the same size. I fill the bottom with about a quarter cup of water and put the tray back on top. All the ingredients go into the top tray in any order. Give it a quick mix, put the lid on, and place it on hot coals. It should take 15-20 minutes, depending on the strength of the coals, wind, and altitude. But that’s only half the meal!
Advertisement — Continue Reading Below
Shop Local
I love this way of cooking. I always feel like I’ve cheated the weight gods when I use local ingredients for cooking. The rock needs to be about 2 inches thick to retain heat and prevent cracking. With the fire going, I put the rock close to the heat and heat it slowly, and I avoid river, creek, and stream rocks. Residual moisture can cause cracks or cause the rock to explode. Best to stand away from the fire when the rock fryer is heating up. Sunglasses make a good safety practice. I make tongs from a branch and use them as my bacon flipper. Simple!
Cookfire Setup
This fire setup is an old classic using two logs and adjusting them so the rock fryer fits across. The initial fire builds and spreads, filling the space between the logs. After a while, I push wood under the rock to heat it to frying temperature.
When the bulk of the fire is down to coals, it’s time to cook it up!
Advertisement — Continue Reading Below
Gear
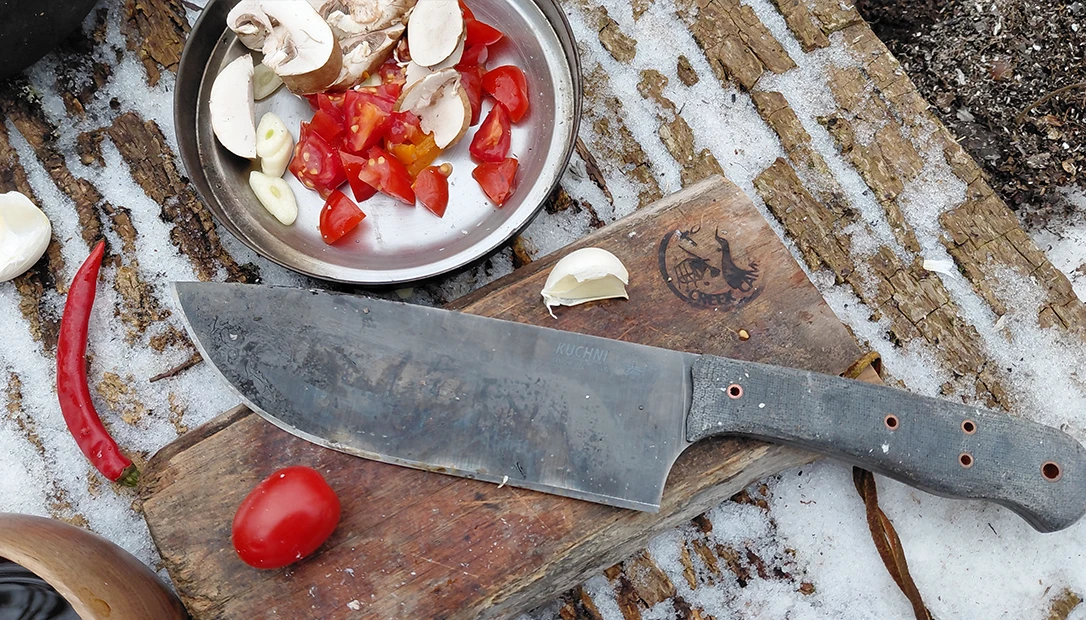
I used the Kuchni’ Camp and Kitchen Knife from Houghton Era Outdoors for this one. It’s a hybrid knife modeled after a 19th-century Hudson Bay knife, made of 80CRV2 with a 58 Rockwell hardness. The Kuchni sports a 7.25 cutting edge and an overall length of 11.75. It will chop and slice anything on a cutting board at the campsite or in the kitchen!
A Cold Steel Pipe Hawk (highly modified) was my hatchet for the hardwood used for the coal base. It was a family affair!
Advertisement — Continue Reading Below